Lesson 2- What is a Map?
Grade Level: 2nd Grade
Objectives:
-Students will recognize that a map shows a pictorial representation of a place and that different maps have various purposes
Essential Questions:
-What can a map tell or show us?
-What are important parts of a map?
I) Standards Addressed:
Virginia SOLs:
Geography 2.6 The student will demonstrate map skills by constructing simple maps, using title, map legend, and compass rose.
Writing 2.11- The student will write stories, letters, and simple explanations.
a) Generate ideas before writing.b) Organize writing to include a beginning, middle, and end
National Curiculum Standards for Social Studies:
- People, Places, and Environments
- Science, Technology, and Society
- Global Connections
II) Materials for Learning Activities
A) Student Materials (per student):
1. Interactive social studies notebooks
2. Map Exploration worksheet
3. Crayons or colored pencils
4. Glue sticks
B) Teacher Materials:
1. Notepad
2. 1 pen
3. Interactive social studies notebooks
4. Whiteboard
5. Marker
6. Smartboard
7. At least 2 laptops
8. 1 copy of National Geographic’s Kids Atlas
9. 1 printed adapted bus route map
10. Weather maps (from The Weather Channel's website) on the 2 laptops
11. 1 printed map of the Banham Zoo
12. 1 map of the world’s continents and oceans projected on the Smartboard.
III) Procedures for Learning Activities (45 minutes)
A) Introduction (10 minutes)
1. Remind students that last time they began learning about things that are on our Earth and how those things are organized by creating a mind map. Explain that organization is quite important when studying geography.
2. Explain that geographers stay organized by using various tools and materials that help them do a better job learning about our Earth.
3. Ask students to raise their hands to share some examples of tools or materials that geographers might use to help them study the Earth in an organized and helpful way. Call on a few students to share their thoughts. (Possible answers may include maps, globes, the compass rose, navigation systems, computers, etc.)
4. Ask students to raise their hands if they have ever heard of, seen, or used a map. Tell students that maps are highly valuable materials that geographers use to study the Earth and to study how the Earth is organized.
5. Hold up a globe. Explain that a globe is not the Earth and it is not a map, but it is the most accurate representation of the Earth. Why? Call on a few students to explain and then confirm that a globe depicts the shape of the Earth in the best way possible, because the Earth is not flat. Explain that it would be difficult to carry around a globe or make a sculpture for every place on Earth, so instead, maps are one of the best tools we can use to learn more about our Earth and why people on Earth live the way they live.
6. Tell students to take out their interactive social studies notebooks and to turn to a new blank page. Hold up your interactive social studies notebook page and on the top, write the date and then demonstrate how you write the title “Our Classroom Map.” Ask students to do the same thing in their own notebooks.
7. Tell students that they will have 5 minutes to create their best version of a map of their classroom.
8. Remind them to include a ways to show where the classroom doors, windows, and desks are, as well as any other details they wish to include. As they work on their maps, walk around and assist students as necessary.
9. After enough time has passed, ask students to stop working on their mind maps. Tell them to turn to their shoulder partners to share their classroom maps. Tell them to compare how their maps are alike and different. Give them about 2 minutes to do so and then ask them to stop.
B) Instructional Strategies (25 minutes)
1. Ask the students to leave their notebooks on their desks and to come have a seat on the carpet.
2. Tell students that even though they all created maps of the same classroom, their maps were different. Ask students to raise their hands to share how their maps were similar and different from their shoulder partners’ maps.
3. Explain that even real maps can be different but show similar representations of the same place. Different maps of the same places can also show us important information about a place. Good maps also have some important features that make them helpful to us.
4. Tell students that today, they will be exploring the important parts of a map and they will be exploring how different maps tell or show us information to teach us about the places they represent.
5. For today’s activity, tell students they will be rotating to four different centers, which include:
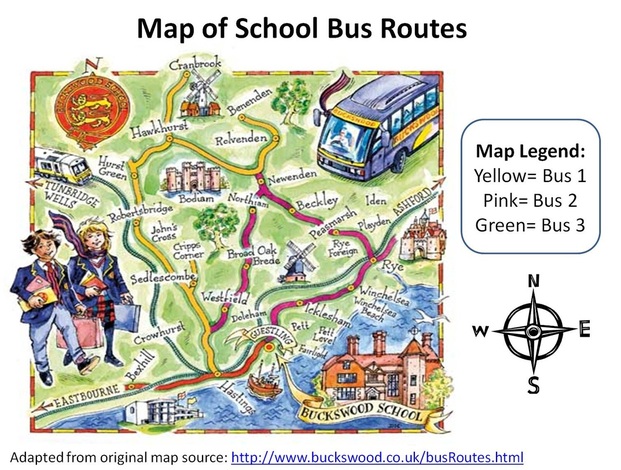
I. Adapted map of school bus routes
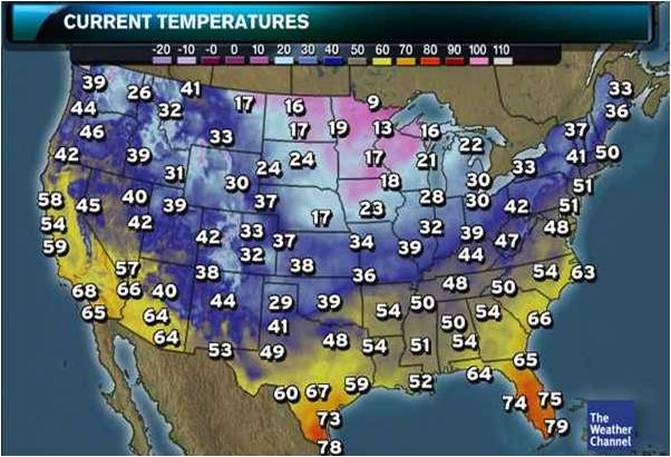
II. USA map of temperatures
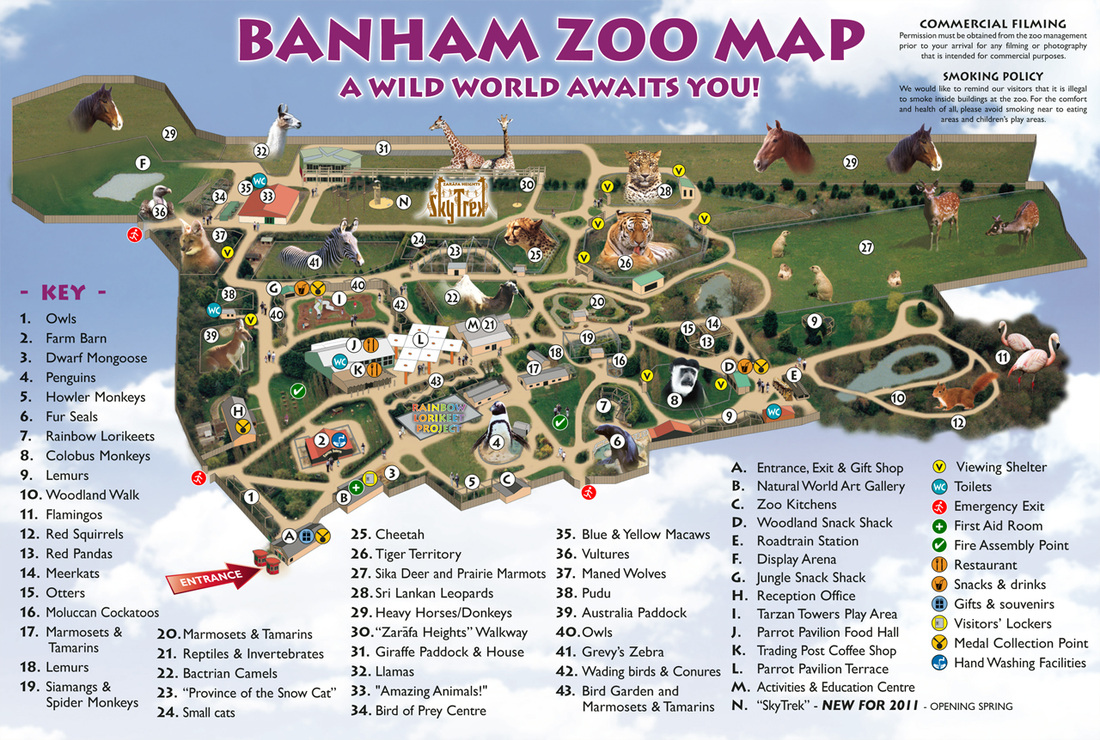
III. Map of the Banham Zoo
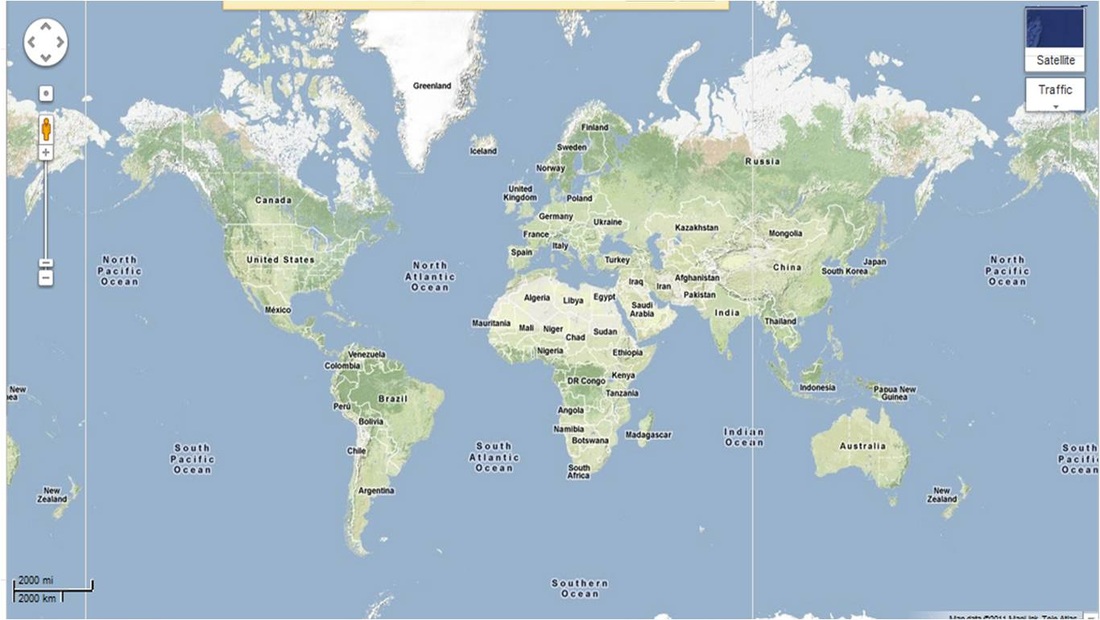
IV. Map of the world’s continents and oceans projected on the Smartboard.
(See images of these maps below)
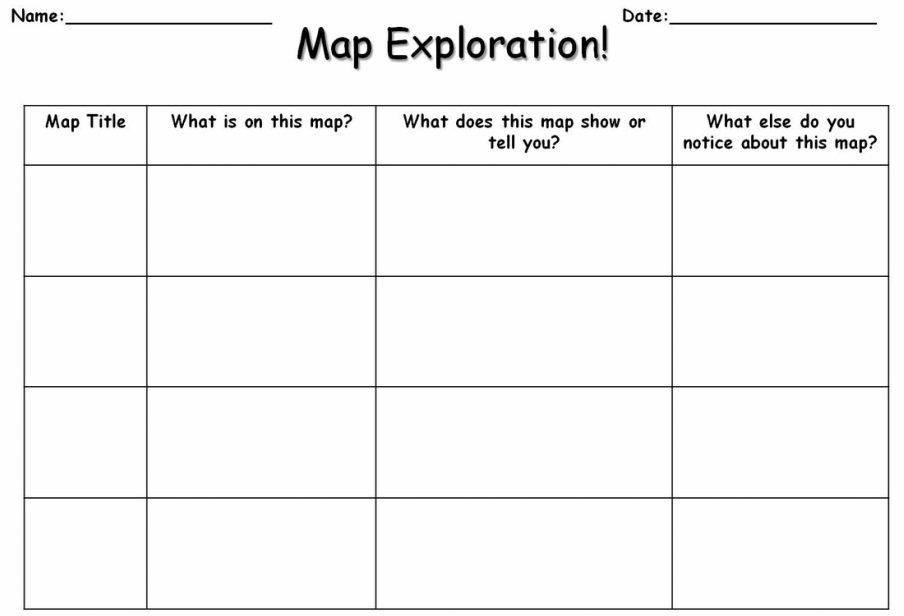
6. Explain that at each center, students will have to look carefully at their maps and fill in their exploration worksheets, which they will soon receive to glue into their interactive notebooks.
7. Ask two students to pass out the exploration worksheets and tell students to glue theirs into their interactive social studies notebooks, on blank pages.
8. Hold up one example of the worksheet and read its contents aloud, explaining what students must do for each section. Remind students to bring their pencils and notebooks with their glued in worksheets to every center, and as they rotate as well.
9. Ask students if they have any questions about their activity and answer them accordingly. Then, divide students into 4 groups and let them know where they need to go to begin working on their exploration activity. Once you have called their names, they may go get their materials and then begin working at their designated center.
10. As students work on their center activities, check to see that they are filling in their exploration worksheets and assist them as necessary.
11. Let students spend about 6 minutes per center. After enough time has passed, ask them to finish what they are working on and then have a seat on the carpet, with their notebooks.
C) Summary (10 minutes)
1. Ask the students to think about some important parts of maps that they have noticed and what information they learned from each map. Have the students turn and talk to a partner to discuss their exploration observations.
2. Ask the students to look at the map of the world projected on the Smartboard to help create a list of important map parts. Create the list on chart paper and record students’ ideas. Make sure to review the purpose of and to include the following parts:
· Title
· Compass Rose
· Cardinal Directions (North, South, East, West)
· Labels or Symbols
· Map Key for Symbols
3. After creating the list with students, tell them that they will continue learning about maps next class.
4. Remind students to keep looking for maps all around them! For homework, ask them to find and cut out or print out a map that can fit into their interactive notebook. Tell them it can be a map of anything they can read and they can find maps to print on the internet (with help from parents, siblings, or adults), or they can cut maps out of newspapers or magazines. Provide recycled newspapers or magazines with maps for students to take home if they need to.
5. For the lesson’s reflection entry, ask the students to answer the following questions:
1. What can a map tell us?
2. What are some important parts of a map?
6. Remind students that it is okay to include illustrations with their reflection writing and tell them that they may continue decorating their “Geography and Us!” unit title page, but only after they have completed their reflections.
7. When enough time has passed, ask students to turn in their interactive social studies notebooks by stacking them on your desk with exploration worksheet pages open.
8. Clean-up.
IV) Assessment
A) Teacher will take anecdotal notes throughout the lesson, as students work on their center activities and as students participate in group discussions
B) Teacher will collect students’ interactive social studies notebooks to check their exploration worksheets and reflections for understanding
V) Differentiation
A) Lesson includes opportunities for scaffolded expression through oral discussions, hands-on experiences, writing, and illustrating
B) Lesson includes differentiated map materials by using technology and various print sources
C) Teacher may use mixed grouping strategies to divide students to work on their center activities
D) Teacher may rotate and work directly with a group of students who need additional guidance or assistance
VI) Technology Integration
-This lesson requires laptops and a Smartboard to allow students to explore digital maps.